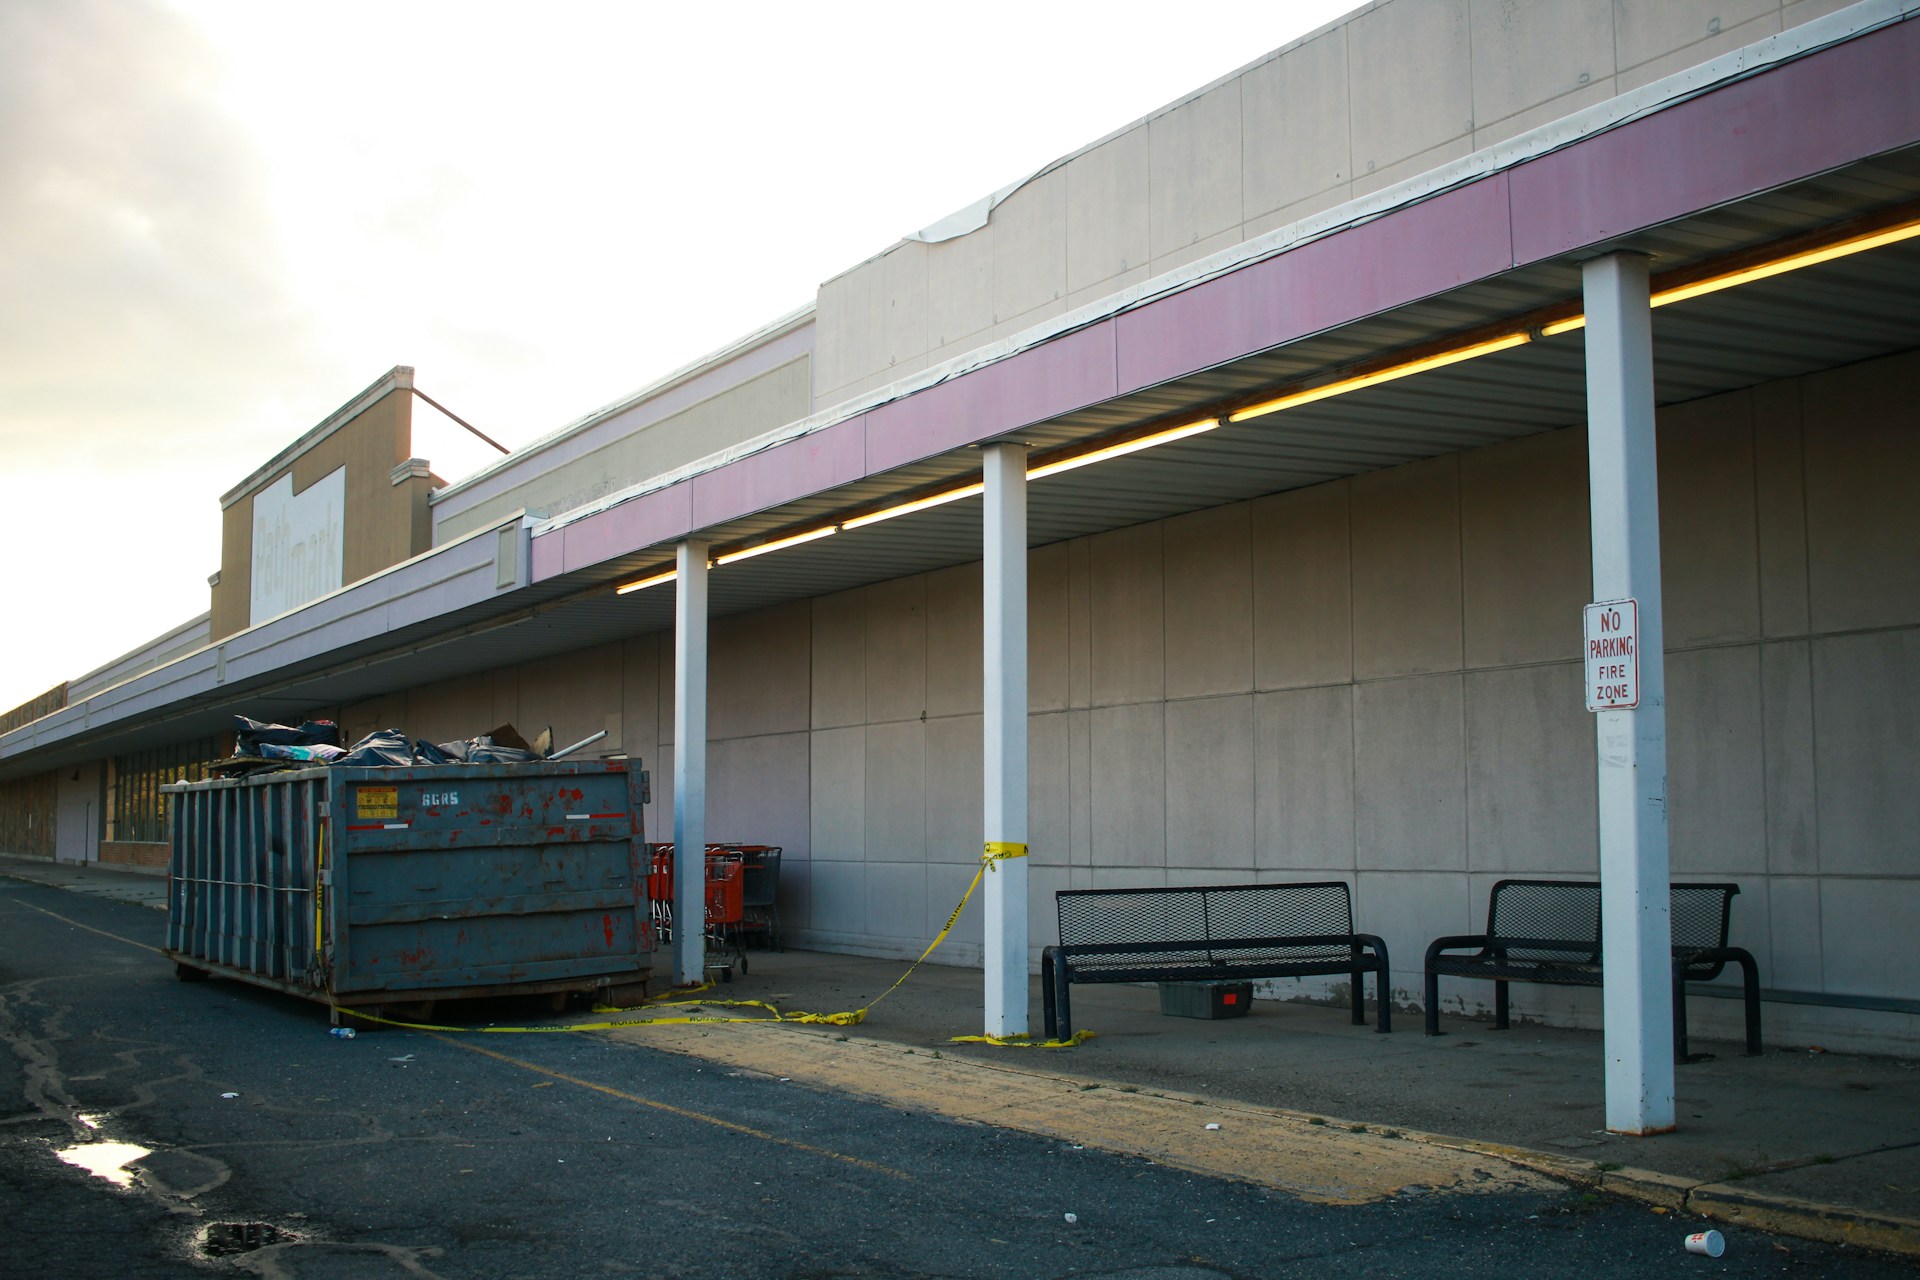
Planning what happens to the debris is just as important as picking finishes or getting permits. If you are tearing out a kitchen, opening up walls, or doing a full gut job, the broken material has to go somewhere fast. Without a clear plan for a demolition dumpster, even a simple project can slow down.
Unmanaged piles of drywall, cabinets, and flooring can block walkways, create trip hazards, and frustrate neighbors. Crews end up moving the same debris two or three times, which wastes time and energy. Work pauses when there is no safe place to toss torn-out material.
A demolition dumpster keeps everything contained so your crew can work in a clean, steady flow. Instead of scattered piles, debris lands in one controlled spot and leaves the property in larger loads. For tight North Chicago driveways and smaller urban lots, compact, driveway-safe roll-off containers are especially helpful, because they fit close to the work area without swallowing the whole driveway.
Choosing the right dumpster size is one of the most important decisions you make early on. If the container is too small, you may face overfilling issues, extra hauls, or a blocked driveway. If it is too large, you might lose valuable space on the property.
Homeowners and contractors often pick sizes based on the type of demolition they are doing, such as:
Debris type also affects which size makes sense. Heavy materials fill weight limits long before they fill the top edge, while lighter debris fills volume first. For example:
A good approach is to combine your contractor’s estimate with local dumpster guidance. Think about:
Balancing capacity, cost, and physical space on-site helps keep your project moving without constant pauses for extra hauls.
Where you place a demolition dumpster can make the difference between smooth progress and constant back-and-forth. The goal is to get the container as close as safely possible to the main debris path so crews are not walking a long distance with heavy loads.
Common placement options include:
Driveway protection and access matter. Compact, driveway-safe roll-off containers help reduce the risk of damage to paved areas. Many crews also lay down boards under the wheels to spread out the weight. It is smart to keep the front of the container clear so the truck can get in and out for timely pickups and swaps.
Seasonal conditions can also play a role. In late spring, ground can still be soft, and lawns may rut if a container or truck gets too close. Neighborhood traffic often picks up as kids and families are outside more. Keeping the dumpster in a spot that maintains sightlines and avoids blocking sidewalks or shared drive areas will help keep things calm.
In Northeastern Illinois, many towns and homeowners associations also have rules about:
Checking those details ahead of time helps you avoid day-of surprises and keeps the project neighbor-friendly.
Once the dumpster is in place, how you load debris affects safety, cost, and overall speed. A little planning here pays off over the life of the project.
Safe, efficient loading strategies include:
It is also important to know what can and cannot go into a demolition dumpster. These containers are usually meant for construction debris such as:
Items that are often restricted or handled separately include certain chemicals, paints, electronics, appliances, and anything that might be considered hazardous. When in doubt, ask before you load it, so you do not risk extra handling or a rejected pickup.
Weight limits and fill lines are there for safety. To avoid extra tonnage fees and delays:
Proper loading means fewer extra hauls, fewer surprises at pickup, and a schedule that stays on track.
Your dumpster plan should match your demolition schedule from the start. If a container fills up in the middle of the workday with no backup plan, crews have to stop or start creating piles again, which defeats the purpose.
A simple planning framework many projects follow includes:
Seasonal demand can be higher around late spring and early summer in Northeastern Illinois, when many homeowners and property managers start larger remodels. Booking a demolition dumpster ahead of time helps you lock in the days that fit your demolition plan instead of working around what is left.
Local routing advantages also help when demolition uncovers surprises, like hidden layers of tile or plaster that add more debris than expected. Working with a nearby provider can make it easier to get faster responses and schedule adjustments when your timeline shifts.
Before the first wall comes down, it helps to create a short “debris game plan” that everyone on-site understands. This does not need to be complicated. Even a simple written note or shared message can keep things clear.
A basic plan might include:
Taking time to think through a demolition dumpster before the work starts leads to fewer delays, safer and cleaner job sites, and neighbors who feel respected. With compact, driveway-safe containers well suited for North Chicago and surrounding areas, EcoBox Dumpsters can help you line up the right size, placement, and schedule so your demolition clears the way for the next phase without getting stuck in a mess of debris.
If you are planning a demolition or major remodel, we can help you keep debris under control and your site safer with a demolition dumpster sized to fit your project. At EcoBox Dumpsters, we work around your schedule, deliver right where you need it, and handle hauling so you can stay focused on the work. Tell us about your timeline and cleanup needs, and we will recommend the right container and straightforward pricing. Have questions or need a custom setup for your job site, just contact us and we will walk you through the options.